Brunswick Corporation
Next Never Rests
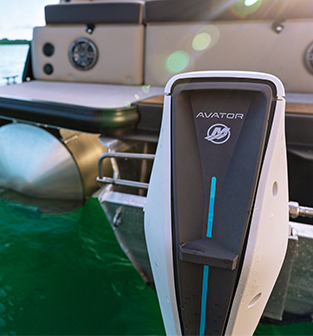
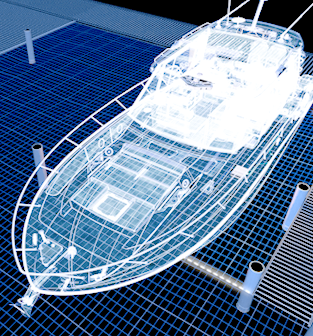
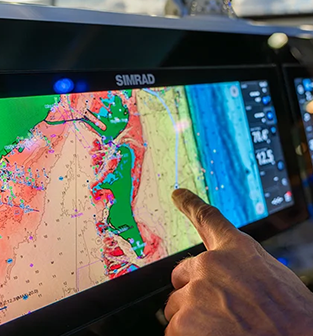
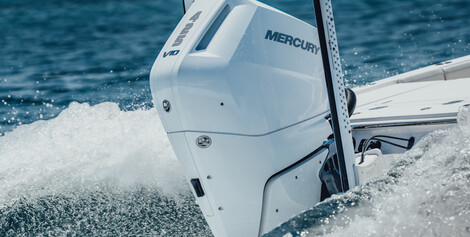
As a global leader in marine recreation, we’re committed to transforming experiences on the water and beyond. Through sustained investment in consumer-focused technology and bold innovation, and by driving synergies across the boating ecosystem, we continuously strive for a future with more opportunities to access and enjoy boundless adventures on the water.
Company Overview