This website uses cookies. By clicking Accept, you consent to the use of cookies. Click Here to learn more about how we use cookies.
Turn on suggestions
Auto-suggest helps you quickly narrow down your search results by suggesting possible matches as you type.
Showing results for
- Sea Ray
- Sea Ray Boats
- Sport Yachts/Yachts
- Help! Hoping you have tackled this...
Options
- Subscribe to RSS Feed
- Mark Topic as New
- Mark Topic as Read
- Float this Topic for Current User
- Bookmark
- Subscribe
- Mute
- Printer Friendly Page
Help! Hoping you have tackled this...
Options
- Mark as New
- Bookmark
- Subscribe
- Mute
- Subscribe to RSS Feed
- Permalink
- Report Inappropriate Content
06-25-2022 05:45 AM
Help! Hoping you have tackled this project Wingless!
changing out the reading lights in the stateroom. What a pita. The fixtures are so small, the plug in connectors are above the ceiling. The one in the aft was able to pull the wires and get the connectors to move and pull out to connect the new ones. Not having any luck on the first one (starboard)
any advice is appreciated!
2 REPLIES 2
Options
- Mark as New
- Bookmark
- Subscribe
- Mute
- Subscribe to RSS Feed
- Permalink
- Report Inappropriate Content
06-25-2022 09:27 AM
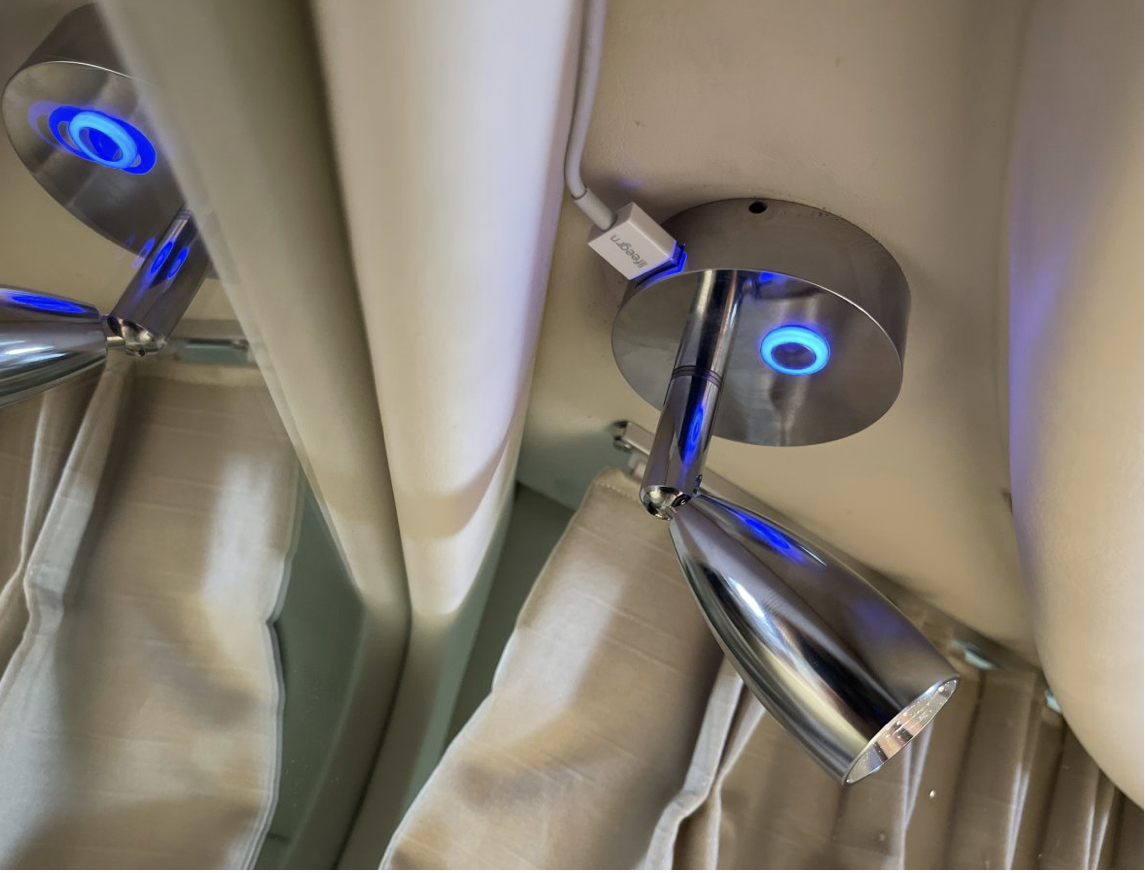
Both of those directional spot lights in the forward corners of the master stateroom have not been swapped on my boat.
The similar light at the aft keel end of the mid stateroom has been swapped, to a similar light.
All of those lights, including the flush eyeball lights have a short pigtail, to male and to female fully insulated Faston crimp connectors.
Be aware that the factory "cheated" on the light wiring, doing an unacceptable (in my opinion) daisy chain by jamming two wires into the insulated Faston crimp connector, providing a localized in/out at each lamp. That wiring method is not shown as acceptable anywhere and that method permits the wires to become loose.
It will suck if the pigtail wires pulled out, w/o also dragging the hull wiring / connectors to the opening.
If that happened, it might be possible to use a narrow pry tool or a screwdriver to force the gap to increase slightly so that the wires might be located and retrieved to the opening. That is the best case and multiple efforts should be made to attain that result.
If required, the second effort should be to locally loosen the headliner plywood board from the ceiling, only near to missing wires. The headliner plywood is retained to the ceiling w/ perimeter oval head screws. The padded headliner fabric is glued to the plywood, except at the screw location. The headliner board is screwed into position, then the padded fabric is stretched over the screw and tucked into the gap. The screw heads my be located by feel, pushing through the padded fabric. On my boat there were several instances where two screws were placed closely ~1", most were about 6" apart.
Worst case is having to remove the entire headliner board. I hope that isn't required.
Options
- Mark as New
- Bookmark
- Subscribe
- Mute
- Subscribe to RSS Feed
- Permalink
- Report Inappropriate Content
06-25-2022 10:32 AM
So, I figured this out, first one in the aft is where to start. It’s just tight, but straight forward.
-in the front, Loosen the screw in the track that keeps the end of the curtain from sliding aft, move it out of the way.
-remove the speaker for which ever side you are going to start on
-on the section that your light is on, remove the screw that holds it up towards the center (there is 3 sections). Also remove the long screws that hold the track up, the most forward one, then it has 2 or 3 short ones, then another long one, remove at least half.
-if you feel along the back side of the trim of that section, you will find where they screwed right through the Vinyl to hold it up. Very small and it’s in the radius….
once you get that, the ceiling should wedge down enough to get to the wires.
-remove light (2 flat screws, one on each side. Should be able to slide the wire down a little l, if not, feed some from the speaker hole access.
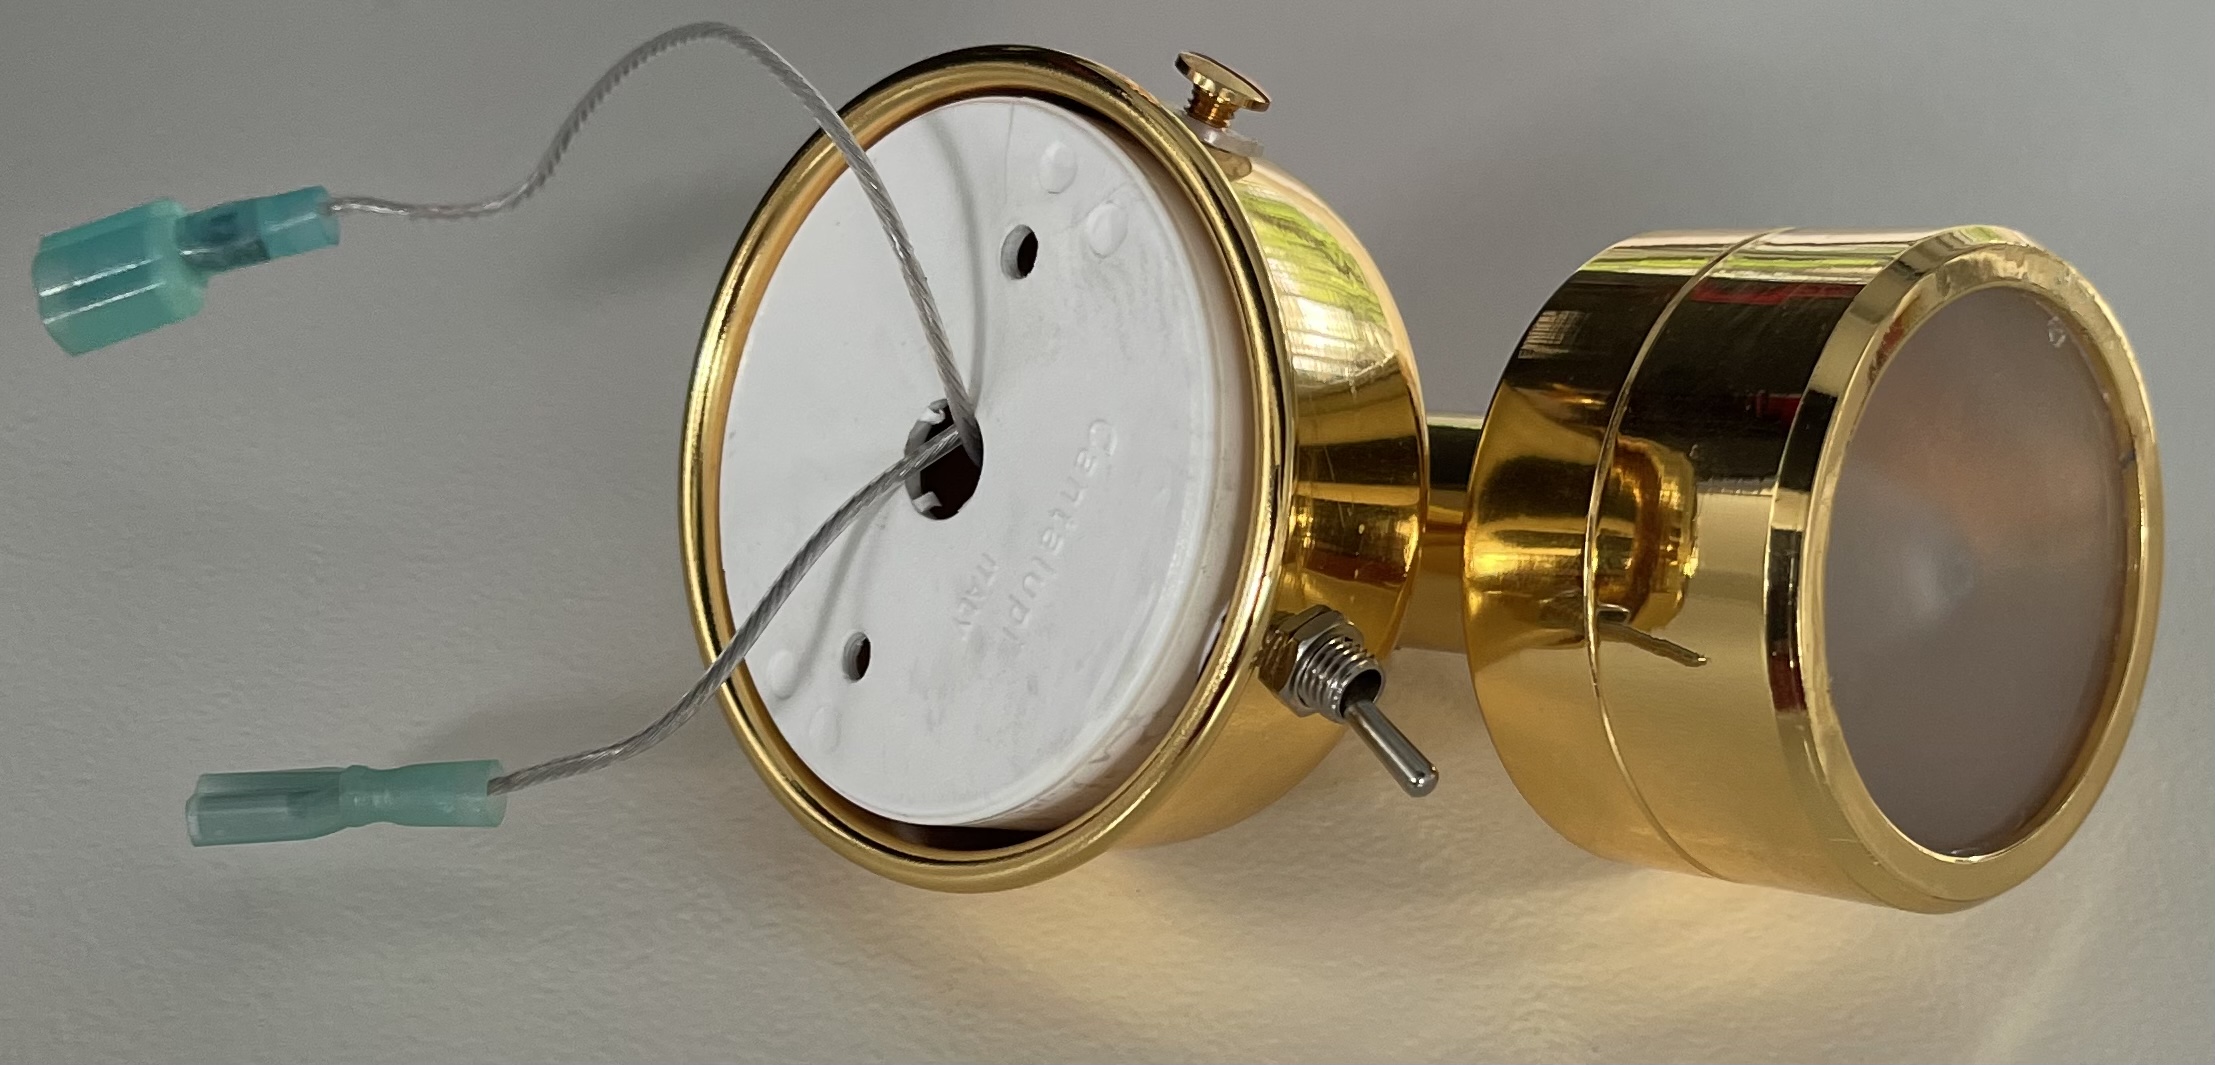
-Unplug light, remove the 2 Phillips screws that mount the back plate…
-crimp ends on your new fixture. Mine was a male on the black and a denial on the red.
Plug in, make sure it works properly. Then mount new fixture. Put together in reverse order.
My new lights have a usb charger also,
-in the front, Loosen the screw in the track that keeps the end of the curtain from sliding aft, move it out of the way.
-remove the speaker for which ever side you are going to start on
-on the section that your light is on, remove the screw that holds it up towards the center (there is 3 sections). Also remove the long screws that hold the track up, the most forward one, then it has 2 or 3 short ones, then another long one, remove at least half.
-if you feel along the back side of the trim of that section, you will find where they screwed right through the Vinyl to hold it up. Very small and it’s in the radius….
once you get that, the ceiling should wedge down enough to get to the wires.
-remove light (2 flat screws, one on each side. Should be able to slide the wire down a little l, if not, feed some from the speaker hole access.
-Unplug light, remove the 2 Phillips screws that mount the back plate…
-crimp ends on your new fixture. Mine was a male on the black and a denial on the red.
Plug in, make sure it works properly. Then mount new fixture. Put together in reverse order.
My new lights have a usb charger also,


